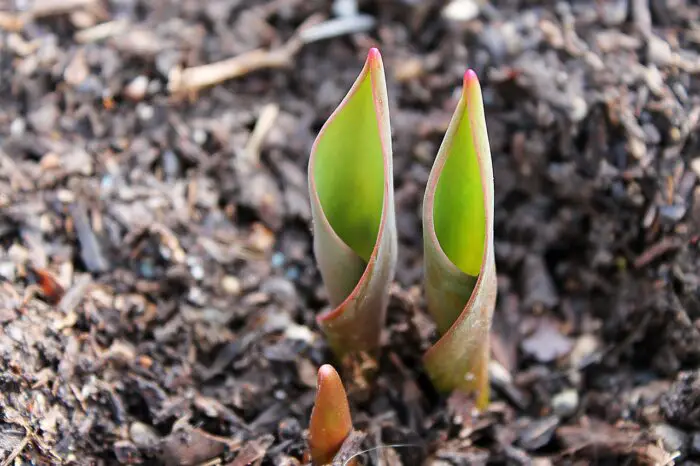
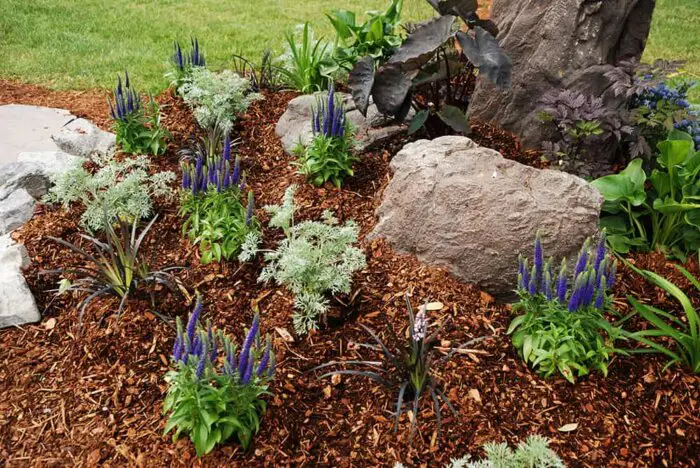
Yes, some small bulb flowers will find their way up depending on the thickness and inches of mulch. However, most perennial plants and seeds do not survive beneath the mulch in early spring – there’s a need to keep a thin layer for them to sprout without difficulties after winter.
Mulch material protects the soil by warming it during winter. Besides that, it provides your flowers and plant roots with natural food. Also, it allows oxygen and water to reach the soil and roots.
Types of Mulch
The type of mulch used will determine how healthy your plants and flowers will grow. Also, the layer of mulch to use is an essential factor to consider. There’re two main kinds of mulches.
Inorganic mulch carries non-carbon elements such as:
- Plastic sheets
- Landscape fabric
- Small rocks
Organic mulch consists of:
- Wood chips
- Pine needles
- Molded leaves
- Rubber chips
- Worn tree bark
- Grass clippings.
However, organic is natural with more healthy nutrients – experts advocate for its use.
Here are 5 simple steps to follow when planting perennials in mulch.
Planting Perennials in Mulch – 5 Step Guide
As a new homeowner, it is vital to cover your plants with some inches of mulch. You can use either organic matter or inorganic mulches. This groundcover process improves plant fertility and conserves soil moisture.
Also, it adds a neat look, color, and texture to a garden bed, a landscape, or a vegetable garden.
Step 1 – Prepare Soil and Clear Previous Mulch
Wait for early spring and dig through the soil. Remove the dead plant materials from previous planting and old mulch. Test the soil pH using available electronic soil testers.
Add dead but uninfected matter to the compost corner for later use as organic mulches. To improve soil temperature and keep it dry, drag away any thick layer of mulch.
Step 2 – Get Rid of Weeds
It is easy to remove the new weed growth from the perennial beds when still young and soft. This process helps stop weeds from using up nutrients for your crops.
Step 3 – Add Mulch
Most people avoid using organic matter because of second thoughts like, ‘will perennials grow through mulch.’ It is healthy and nutritious to use natural covering for your houseplants and vegetable gardens.
Also, returning crops require constant nutrients feeding besides watering, unlike the annual that need new mulch each year.

During mid to late spring, the soil temperature is warm and dry – you can spread new mulch like bark mulch and other natural materials up to 2 to 3 inches.
Root systems develop better during this period. However, avoid a thick layer of mulch that hinders oxygen flow in the soil.
Distribute the mulch to equal and even levels. Keep 2 to 3 inches of non-mulched soil around the plant base and crown. This step prevents rotting and diseases.
Step 4 – Add the Plants
Using a hand cultivator, scrape some mulch and dig a small hole to fit the roots below the surrounding soil level. Gently place the plant inside the hole and fill the roots with fine soil.
Leave some space around the stem to hold water. Water as needed for the loose soil to hold.
Bonus Point #1
In the late fall, put mulch around the stem, but remove the mulch before the plant grows after winter.
Step 5 – Care and Mulch Replacement
Replace the old mulch throughout the growing season. Use basic mulch application to fasten decomposition. For example, use one application in the fall to shield your plant roots from winter temperatures.
Also, apply one mulch covering in late spring. Remember to keep the mulch levels up to 2 to 3 inches.

When plants mature and grow bigger, organic manure and landscape fabric can kill or destroy their roots and stems. Also, the struggle for growth affects their spread. So, it is critical to plant before applying mulch.
Follow up with constant watering to avoid moisture drainage caused by covering. Also, break down the mulch into compost form to support the seedlings after germination.
Planting Flowers in Mulch – 3-Step Guide
Below is a systematic process to plant annual flowers and perennial plants in mulch— but first, a quick look at a few annual plant samples to grow in various conditions.
- Pansies – sun/part sun
- Begonias – sun and part sun/shade
- Petunias – sun/part sun
- African marigold – sun
- Impatiens – shade
Step 1 – Prepare Soil, Clear Weed, and Mulching
Use steps 1 to 3, as mentioned above, to grow your favorite flowers in organic matter. However, there’re some unique points to consider for your flowering plants to survive the winter and other unfavorable conditions.
Step 2 – Planting
Using a hand cultivator, scrape some mulch, dig a small hole and plant your flower. The soil often clumps up on top of the mulch with this method. To avoid this, place the mulch in a hip.
Also, store the soil from the hole in a container to prevent mixing with the cleared mulch.
Step 3 – Caring
Return the stored soil into the hole and neatly spread the mulch back to the ground. Ensure the level is the same all around the garden. Water is life, so keep watering the flowers till the loose soil around the root systems is intact.
Bonus Point #2
Always give room for your plant to maneuver. Two to three inches of space between the stem and the organic is sufficient.
