How To Plant An Orchid Successfully

Orchids are just stunning, which is why many people want to know how to plant an orchid. Orchids have exotic looks and are available in more than 30,000 species with more than 200,000 hybrid varieties.
These flowers are incredibly versatile and can be grown indoors and outdoors. If you aim to know how to plant an orchid, you should be patient enough and prepare yourself for the failures and successes associated with this plant variety.
Ideal Orchid Species for Beginners
Choose a suitable species of orchid. Some orchids grow more easily than others do. Some of the easier-breeding varieties include Cattleya, Phalaenopsis, and Paphiopedilum. You may want to try growing these varieties if you have never grown orchids before.
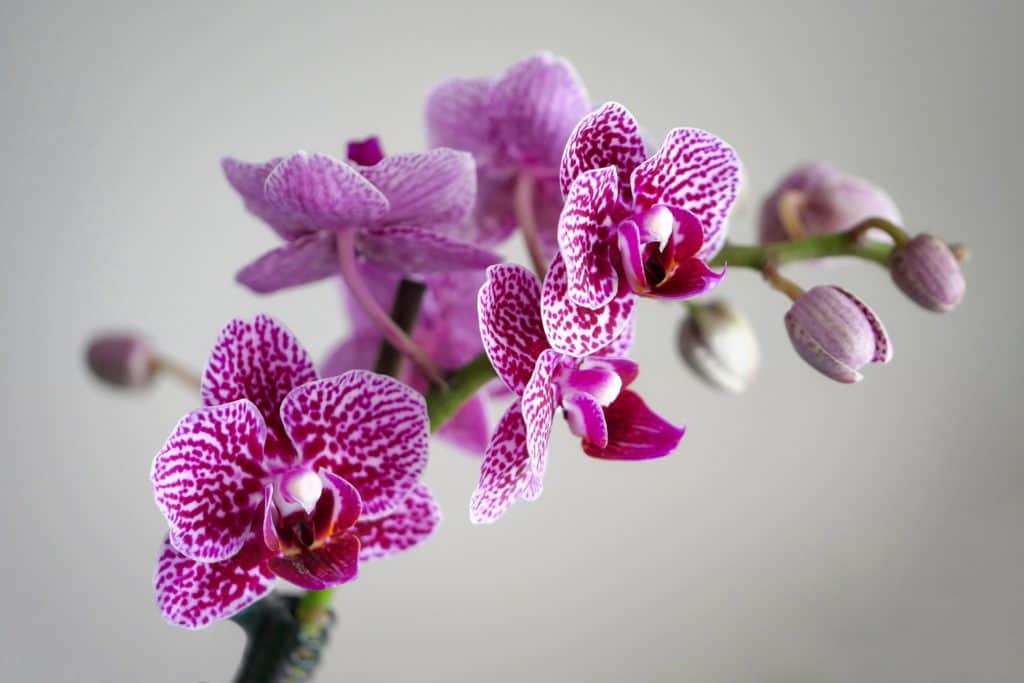
A popular orchid species among beginning growers is the moth orchid. Different species of orchids have varying growth, watering, humidity and light requirements. Research different orchid species to determine the one that grows best in your location.
The Best Orchid Soil Medium
Choose the appropriate soil type for your orchids. Avoid making the mistake of growing orchids in potting soil like other blooming flowers.
The majority of orchid species require more air than potting soil can give because they are ephithite by nature. This means that orchids naturally grow on trees in the air, not in soil. Nevertheless, orchids need something firm for root anchoring.
The best soil type for orchids is a loose, porous soil mix. Many gardeners use coconut husks, charcoal, bark chips, sphagnum moss, and perlite as a potting mix. You may also experiment with other porous, breathable potting mix options.
Whatever combination you decide to use, be sure to add water to it and strain it for the best results.

Selecting Your Orchid’s Pot
Select a snug pot for your orchid. Many orchid species do well in snug pots that keep them root-bound. Place your orchid in a small pot and ensure the pot has holes in it for drainage. Do not place your orchids in decorative pots without an internal liner because their glaze may harm the flower.
Suitable pot options for orchids include net, clear plastic, and wooden pots. Net pots feature wire meshes and are incredibly breathable. You can hang your net pots at a vantage location for better exposure to sunlight.
A noteworthy feature of clear plastic bags is that they expose the entire plant, including the roots, to sunlight. In addition, you can quickly inspect your orchid’s root system without disturbing the flower.
Wooden pots feature rot-resistant wood. It is important to line your wooden pot with sheet moss before adding potting mixture.
Related: Different Types of Orchids
Potting Your Orchid
Be sure to follow certain steps when potting your orchid. First, remove the flower from its original pot and then cut off dead or rotting roots altogether.
However, do not cut off aerial roots if they are healthy. Spread out the root matter before placing the flower in a pot.
Position the most mature sections of the flower first towards the bottom of the pot and newer growth near the sides of the pot. Gently add the potting mix until it barely covers the root system.
An essential factor to know when learning how to plant an orchid is when to re-pot your orchids. You may have to re-pot your orchids every two years or whenever the lower leaves die.
You may also have to re-pot your orchid when it outgrows its pot.
Nurturing Your Orchids
Create an ideal temperature for the growth of your orchids. The best temperature range for orchids is between 65 degrees and 75 degrees Fahrenheit.
You can make the environment 10 degrees cooler at night to stimulate the growth of new buds, especially during winter and fall.
Use fertilizers that are specifically designed for orchids and avoid over-fertilizing the flower.
Apply a weak, diluted orchid fertilizer once a week and water the flower once a month to rinse out fertilizer that has accumulated in the plant leaves and other parts.
Never let your orchid sit in water. When watering your orchid, be sure to avoid getting the crown or leaves of the plant wet. If you do, dry them off with a soft cloth or paper towel.
In addition, maintain humidity levels of 50 to 75 percent in the growing room.
Related: How to Care for Your Orchid

How to Plant an Orchid Outside
There are a few simple steps to take if you want to plant orchids outside. First, you need to research orchids that do well in your area and climate.
Consider planting Cymbidiums in regions that experience summer night temperatures colder than 60 degrees Fahrenheit or 16 degrees Celsius.
Alternatively, grow Vandas or Cattleyas in areas with summer night temperatures above 60 degrees Fahrenheit or 16 degrees Celsius.
Plant your orchids after the last frost. Orchids thrive in warmer climates with average temperatures above 55 degrees Fahrenheit or 13 degrees Celsius.
Expose your orchids to sunlight gradually to allow them to acclimate to the sun. Leave your orchids in a pot and start by exposing them to 1-2 hours of direct sunlight a day.
Then a week later, move the potted orchid to an area with 3-4 hours of direct sunlight a day. A week later, you can transplant your orchids outside where they will receive maximum hours of daylight.
When learning how to plant an orchid, it is essential to know that each orchid is unique. Therefore, orchid strands have different care and maintenance needs.
Orchids are not the same and require different lighting, temperature and watering needs. Therefore, learning how to plant an orchid requires flexibility.
